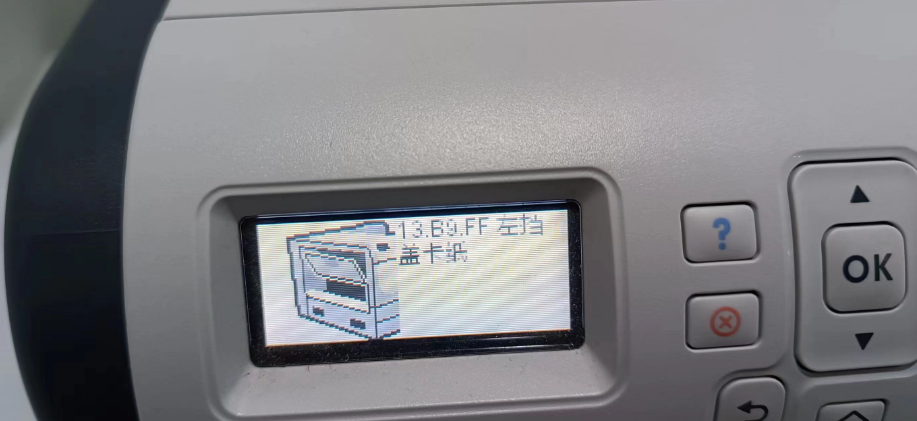
错误代码: 13.B9.FF | 惠普5系激光打印机 故障代码 其他系列也可以参考 | 二〇二一年五月二十七日
2021-06-01
错误代码: 13.B9.FF | 惠普5系激光打印机 故障代码 其他系列也可以参考 |
二〇二一年五月二十七日
--------------------------------------------------
技术热线:朱师傅整理
--------------------------------------------------
中文译本:
13.B9.FF
描述
残留介质卡纸定影器输出传感器
在指定的时间限制后或加电后,纸张出现在SR9。
建议操作
1.打开顶盖和后盖,然后在指示的区域清除卡纸。
2.合上盖子,让打印机尝试清除卡纸。
3.确认介质符合打印机的HP规格。
4.卸下定影器,并检查定影器套筒,压力辊和输出辊是否阻塞和/或
损害。根据需要更换定影器。
注意:热凝器可能是热的。
5.打开以下菜单:
●行政
●故障排除
●诊断测试
6.使用手动传感器测试来测试定影器传送传感器(SR9),以验证传感器是否正常运行
正确地。如果不是,请更换定影器。
7.运行定影器电机驱动器测试,以验证定影器驱动器和齿轮是否正常运行。如果他们
否则,请更换定影器电机组件。
--------------------------------------------------
英文解释:
13.B9.FF
Description
Residual Media jam Fuser Output Sensor
Paper present at SR9 after specified time limit or on power up.
Recommended action
1. Open the top and rear cover and clear the jam in the indicated area.
2. Close the covers to allow the printer to attempt to clear the jam.
3. Verify the media meets HP specification for the printer.
4. Remove the fuser and inspect the fuser sleeve, pressure roller, and delivery roller for blockage and/or
damage. Replace the fuser as needed.
CAUTION: The fuser might be HOT.
5. Open the following menus:
● Administration
● Troubleshooting
● Diagnostic Tests
6. Test the Fuser Delivery sensor (SR9) using the manual sensor test to verify the sensor is functioning
correctly. If it is not, replace the fuser.
7. Run the Fuser motor drive test to verify that the Fuser Drive and Gears are functioning correctly. If they
are not, replace the Fuser Motor Assembly.
--------------------------------------------------
实际故障案例
3】故障案例:
--------------------------------------------------
2】故障案例:
--------------------------------------------------
1】
故障案例: 惠普 复印机 报错 13.B9.FF左挡盖卡纸 | 上海金山周经理 z13564838415 | 二〇二四年八月九日
1.打开顶盖和后盖,然后在指示的区域清除卡纸。
2.合上盖子,让打印机尝试清除卡纸。
3.确认介质符合打印机的HP规格。
4.卸下定影器,并检查定影器套筒,压力辊和输出辊是否阻塞和/或
损害。根据需要更换定影器。
2.合上盖子,让打印机尝试清除卡纸。
3.确认介质符合打印机的HP规格。
4.卸下定影器,并检查定影器套筒,压力辊和输出辊是否阻塞和/或
损害。根据需要更换定影器。
如果没有纸 报卡纸 检查传感器 复位正常不 弹簧看看 松了么 歪了么
验证结果:问题解决,定影组件传感器线头有点松,现在能正常打印,等待客户用几天反馈


扫描开通重新登录查看更多

添加朱师傅微信咨询


